A blog for (semi) athletic middle-aged men (and women) holding on to (the last vestiges of) their youth
by training for and competing in running, cycling, swimming and triathlon events!


Showing posts with label Beef. Show all posts

Monday, January 30, 2017

Team BEEF Cycling and Running Jerseys NOW AVAILABLE for Purchase

By now you've probably noticed that I wear a Team BEEF cycling jersey on group rides like Ride the Rockies and Cycle Oregon. I love showing other riders that healthy, active people can enjoy beef as part of their diet every day (like I do), along with plenty of fruits, vegetables, whole grains, and dairy products. On every ride at least one person asks me where they can get a jersey with an awesome steak on it, like mine! Finally, I have a good answer!

https://www.bikejerseystore.com/National-Team-Beef_c_121.html

If you are also a beef-loving athlete, head on over to Facebook and "like" Team BEEF USA. This will connect you with other beef-loving athletes from around the country. Then go the National Team BEEF store and purchase a jersey. It's just that simple!

Why did the chicken cross the road? To hang out with the guys on Team BEEF, of course!

What is your favorite jersey and what does it say about you?

Ride on!

Daren


Monday, January 2, 2017

2015 vs. 2016: What a Difference a Year (without injury) Makes


2015 was the year I learned that the IT Band is not a nerdy rock group.
I've seen a lot of posts this week about how many miles people ran in 2016 and people setting a goal to "run the year" (2,017 miles in 2017). I don't run much these days (if at all, for fear of inflaming my IT band, as I did in 2015) but this made me wonder how many miles I had ridden in 2016 and what my goal should be for 2017. I jokingly told one Facebook friend I would match her 2017 goal to run 2,017 miles -- on my bike -- but knew that would be far less than I had ridden this year so I need a better goal than that (like resolving to BEEFit)! 


So how many miles did I ride this year? Of course I tracked all my rides on my Garmin Edge 810 so was able to quickly look up my total miles for 2016 on Garmin Connect. I was actually surprised to see that I rode 3,737 miles this past year.

This screenshot of my 2016 rides from May to December shows the lead up to Cycle Oregon (Sept. 11-17) and maintenance rides through the end of November.
Without even going back and looking up past records I know that is the most I have ridden in one year. Given that I was close to 4,000, my daughter suggested I could set a goal to ride 4,034 miles (doubling up on 2017). I kind of like that idea but I spent a LOT of time on the bike this year (219 hours, 15 minutes and 52 seconds, to be exact) and am not sure how much more time I want to spend in the saddle!

By comparison I decided to look up 2015 miles. This time I was surprised how low they were. I only rode 1,779 miles in a year? How could that be? I didn't think I'd ridden fewer than 2,000 miles in a year since my first Ride the Rockies in 2005. 

This screensot of my rides from May to December 2016 paints a very different picture. My IT band injury put me out of commission for nearly five whole months!
So I looked at the calendar more closely and the answer was clear. I only rode NINE times between July 1 and December 1. Remember that IT band injury? Probably not, since I never wrote about it. So here goes...


All along the Water Tower in Chicago
One week after Ride the Rockies 2015 I was running in downtown Chicago. I love to run along the Miracle Mile and the trail along Lake Michigan. I was cruising along and stepped off a curb and felt something pull in my right hip. I limped along the remaining miles and could barely walk the next day. 

The run along Lake Michigan can be a little uneven in spots, which is one cause of IT band injuries (running on an uneven surface)
I tried riding a few times after but had knee pain that was unbearable. The IT band can wreak a lot of havoc when it is not happy! After reading up on it I decided rest was the best road to recovery and literally sat out most of July, August and September. The good news it worked! The bad news is I gained about 20 lbs. during all that sitting, and holiday eating. As a result it took me a lot longer than normal to lose my winter weight this past year. 

I wrote about why old guys get fat in winter several years ago, focusing on the hibernation theory. This year I think the answer is pretty obvious. I burned 170,310 fewer calories in 2015 (153,160) than 2016 (323,470). 

Getting out of bed to ride in winter is hard!
Fortunately I had more time to get into fighting weight before Cycle Oregon in September than I normally do for Ride the Rockies in June. I would have had a hard time hauling my ass over the mountains weighing 235 than I would at my normal 215!

Training for a ride in September meant that I stayed motivated throughout the summer and early fall. Typically I have a hard time getting back on the bike after my big event. This year I was determined not to let that happen and set a goal to ride at least 50 miles per week in October and November, which I did. I stepped that up to 75/week in December.
I like to set up my CycleOps trainer in front of the TV and watch the AFC West Champion Kansas City Chiefs! 
A lot of these miles were ridden on my CycleOps Fluid 2 indoor trainer, which involves constant peddling (riding outdoors it's normal to coast 10, 20, even 30 percent of the time and provides a great workout.
 
So here I sit on January 2, 107, weighing in at 223 lbs., ten pounds less than last year at this time and around my normal for this time of year. I want to get that back under 220 ASAP and hold it there until warmer weather returns and we emerge from hibernation!

The question is: which big ride am I going to do this year: Ride the Rockies or Cycle Oregon? Another possibility Jonny Rocker and I have discussed is doing our own ride, either self-supported or supported by our wives. Let me know if you have any suggestions for other week-long rides or planning your own route.

Ride on!

Daren

Saturday, May 2, 2015

My 30 Day #ProteinChallenge Results


May 1st was the final day of my 30 Day #ProteinChallenge but it certainly won't be the last time I focus on getting enough protein in my diet. I think it is safe to say the past 30 days changed the way I will eat for the rest of my life. The biggest "aha moments" for me were learning that I have been under-consuming protein, significantly, and particularly at breakfast and lunch.

As I shared in my last post, adding protein at breakfast and high protein snacks throughout the day helped keep me feeling full all day long. I felt like I was eating constantly but making better choices in all areas of my diet, not just protein, to ensure I am getting the nutrients my body needs to function properly.

The first five days of the challenge are simply keeping a journal of what you eat.
The key for me was keeping track of what I was eating. I used the MyFitnessPal app to log all my meals, snacks, drinks, etc. After doing this consistently for the first five days of the Challenge I found myself being mindful of the foods I was eating and the essential nutrients they provide per calorie.

The Protein Challenge provides several tools to help you track your food choices, including a food journal (pdf) and a protein cheat sheet (pdf) that lists the protein content of a wide variety of choices including meat/eggs, fish/seafood, nuts/seeds, grains, dairy, and beans. This list of "on the go" protein snacks helps me get more protein into my diet throughout the day. The site also has some great tips for dining out and getting more protein at every meal.

By the way, it's not too late to do the 30 Day Protein Challenge. The daily e-mails begin the day after you sign up, allowing you to start whenever you are ready!

Next up on BEEFMAN: Training for Ride the Rockies kicks into high gear!

Ride on!

Daren

Sunday, April 12, 2015

Taking Control of my Nutrition with the 30 Day #ProteinChallenge

I captured this selfie on a recent tour of a large dairy farm in Colorado. I know it looks like I super-imposed myself into the photo but it's all real. Well, except for the (don't) "Eat Mor Chikin" sign. I added that :)
Have you heard of the 30 Day Protein Challenge? Like most other 30 day challenges the 30 Day Protein Challenge is designed to help you make a positive change in your health. But unlike the others there are no burpees, planks or crunches involved! Nor is this challenge restrictive like all the "detox" or "cleanse" diets (my body does a perfectly good job of cleansing itself, thank you!). In fact, the 30 Day Protein Challenge encourages you to eat MORE of the foods you love, like beef, eggs, and dairy products.

I started the 30 Day Protein Challenge on April 1 but you can start any time. It begins that day after you sign up! On Day 1 you will begin receiving daily e-mails with easy-to-follow instructions for taking the challenge. The first five days are simply keeping a journal of what you eat and how you feel. On Day 6 you get to start adding more protein into your diet. This is when the fun begins!

One of things I noticed when journaling (I am using MyFitnessPal) is that I was under-consuming protein at breakfast and lunch but getting enough at dinner (research shows spreading protein intake evenly throughout the day may be the most beneficial for overall health and wellness). So my focus in the second week was adding more protein and breakfast and lunch. 

For breakfast, I've added a lot more dairy products, specifically Greek yogurt, cottage cheese and chocolate milk after my morning workout (I love the new Fairlife Chocolate Milk with 50% more protein and 50% fewer calories). I also love to scramble a couple of eggs with some leftover steak for a high protein, low calorie start to the day.

I like to grill up an extra flat iron steak on the weekend so I have leftovers for breakfast during the week. Flat iron is an economical and easy-to-grill cut of beef that makes great leftover steak and eggs!
The biggest change I have noticed so far is that I feel less hungry at 10 a.m. and 3 p.m. and when I do, I reach for some beef jerky, nuts or other high protein snacks. As a result I feel less hungry when I get home from work and am less likely to grab a handful of Wheat Thins (I'm addicted) or other high carb snack before dinner.

But probably the best benefit of doing the challenge is becoming more aware of what I eat vs. what I need. I find myself saying, do I really need that donut, bagel, cookie or whatever goodie my colleagues leave laying temptingly around the office? Actually what I say is, "Do I really want that or another glass of wine with dinner?" :)

So join me in taking control of your nutrition. Sign up for the 30 Day Protein Challenge today!

Ride on!

Beefman

Friday, December 26, 2014

BEEFMAN'S Roast Beast

When the young and old sit down to a feast at your house, on what do you feast? Do you feast on Who-pudding? Do you feast on rare Who-roast beast? If you feast on roast beast, on which beast do you feast?

So when it comes to the roast beast feast are are you a turkey, ham, or beef family? As I was watching "How the Grinch Stole Christmas" this year and heard the familiar lines about the Christmas feast in Whoville, "They would feast on Who-pudding, and rare Who-roast beast," I noticed the animal origin of Dr. Seuss's "roast beast" was left wide open to interpretation.

In some shots it looks something like a cross between a turkey...

...and a large rodent.

...or, somewhat disturbingly, even a dog.

Then there are the shots of the Grinch carving the roast beast and it looks more like a ham... 

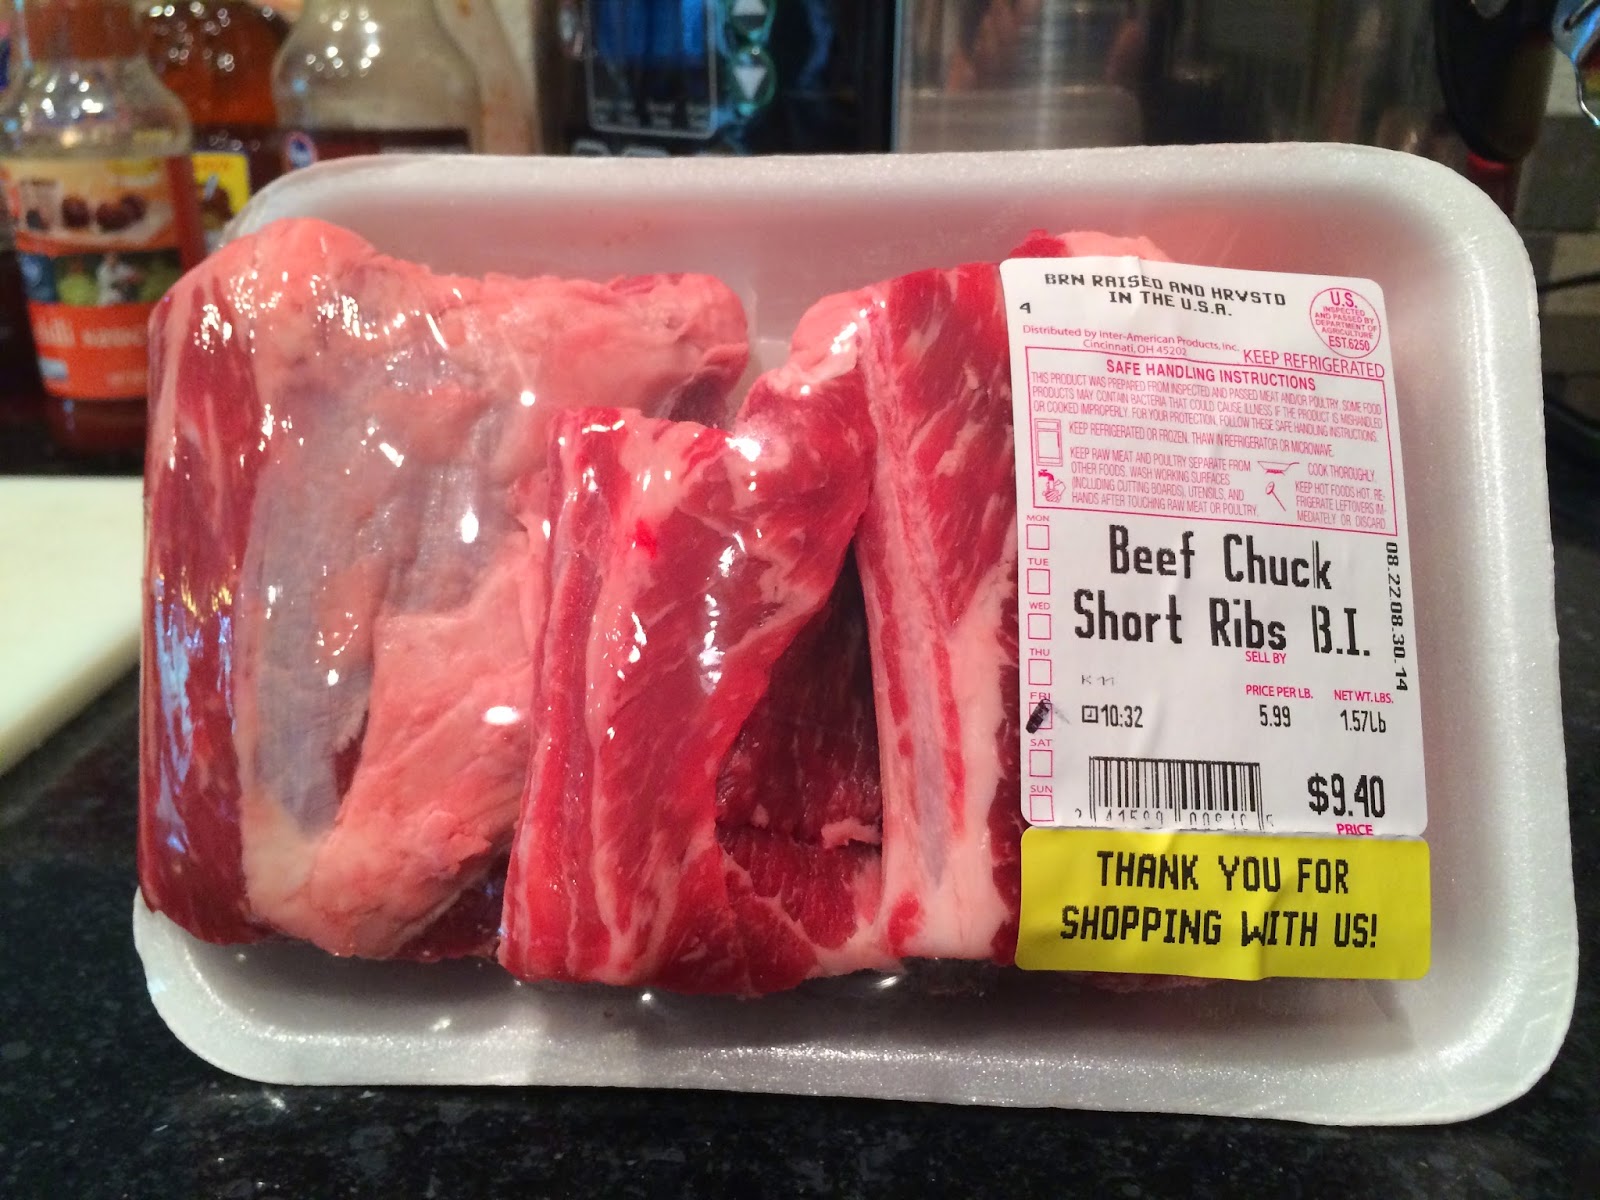
...or a beef roast (which brings me to my point). 

Growing up the traditional Christmas dinner at my house was turkey. As if we didn't get enough turkey at Thanksgiving (and probably just threw out the last of the turkey leftovers a week ago), we'd essentially do Thanksgiving Dinner II. I'm not complaining. The food was always good, but everybody knows the sequel is never as good as the first one (as I was reminded last night watching "Night at the Museum" 1 and 2).

And then I learned how to cook a rib roast. To me, a rib roast is the ultimate Roast Beast. Cooked in the oven on Christmas Day it fills the house with the unmistakable aroma of beef and, served medium rare, it delivers the robust flavor and tender, juicy steak eating experience known as Prime Rib.

For the past several years I have done the rib roast in a 350F oven for about 90 minutes (until the internal temp reaches 125F), then let it rest for 15 minutes before carving. The results have been good but not great. And I want great, especially when hosting Christmas dinner! So this year I tried a new method I learned from one of the culinary experts at the National Cattlemen's Beef Association, Steve Wald (Steve is one of a team of people who develop and test recipes for BeefItsWhatsforDinner.com).

Steve's "restaurant method" combines low and slow cooking with a "blast" of high heat at the finish. The result was a nice, even red color from edge to edge with a crisp, flavorful crust on the outside. It worked so well I have decided to share my version of Steve's restaurant methods rib roast...

BEEFMAN's Roast Beast

1. Coat a 5-10 lb. bone-in Beef Rib Roast with your favorite rub. Return roast to refrigerator until ready to begin roasting.

Notes: The official Roast Beast recipe on the Random House Seussville website calls for a Beef Strip Loin roast, which would also be amazing. I plan on 1/2 lb. per person and then add a pound or two to make sure there is plenty (and hopefully some leftovers!). For the rub I use Safeway Select Mediterranean Roast Rub because I like Mediterranean seasoning, especially rosemary, on beef. Pretty much any meat rub with salt, pepper, and garlic will do. You can also just use some salt and pepper or make your own concoction.

2. Preheat oven to 160F. Place roast bone-side down on a rack on a roasting pan (if you don't have a rack, place bone-side down in a shallow roasting pan -- the bones raise the meat off the surface, forming a rack). Place on bottom rack in oven and roast for 5-6 hrs (I pull it when the internal temp reaches 125F for rare to medium rare). Remove from oven and let rest for 30 minutes to an hour, tenting loosely with aluminum foil.


Notes: At this point the outside of the roast will not look "done." The roast will continue to cook in its own heat/juices, rising another 5-10 degrees F in the first 10-15 minutes while resting then will hold that temp for up to an hour. Allowing the meat to rest at least 15 minutes is a crucial step in the process. This allows the juices to reabsorb into the meat, ensuring a juicy, flavorful roast.

Place your meat thermometer in the center of the "eye" of the rib, not resting in fat or touching bone.
3. Approximately thirty minutes prior to serving, heat the oven to 500F then place the roast back in the oven for 10 minutes. Keep an eye on the roast to make sure the rub doesn't start to burn. Remove from oven and let rest another 10-15 minutes before slicing.

Blasting the roast with high heat after letting it rest will ensure a nice crisp "crust" on the outside without raising the internal temperature and overcooking the meat.
Notes: The purpose of this step is to "blast" the outside of the roast with high heat. Cooking at this temp for such a short time will not raise the internal temperature, which should be holding around 135F (rare to medium rare).

4. Use a nice sharp butcher knife to slice between the rack (bones) and the meat, running the knife right along the bone (see picture). Slice roast into 1/2-1" thick slices and serve.

Run a sharp knife between the bones and the meat before slicing into 1/2-1" thick "steaks"
Notes: DO NOT throw away the bones! I like to save them then reheat on the grill or in the broiler. That's some good eating! A rib roast consists of two major muscles separated by a chunk of fat. I like to cut this fat off prior to serving to reduce the amount of fat left on everyone's plate at the end of the meal! Also, the two muscles offer two distinct flavor and tenderness levels. The circular "eye" portion of the rib eats a lot like a filet or strip steak. The thinner outer piece called the ribeye "cap" is a tender flavorful delicacy. If you want to get fancy you can remove the cap by simply cutting out the fat between the two muscles. You can then cut the "eye" into 1-2" filets and slice the "cap" into even portions to serve alongside the filet.

The first cut is the true test. Perfect rare to medium rare, no juices running off the cutting board.
And there you have it. A special meal for a special occasion. If you missed out on the real Roast Beast this Christmas, don't worry. A rib roast turns any meal into a feast -- a New Year's Day brunch, anniversary or birthday celebration or a Sunday dinner.

Enjoy!

BEEFMAN

Thursday, September 18, 2014

If it's not BEEF, it's not a "Burger"!

Today is #NationalCheeseburgerDay! I have no idea who designated it as such but I saw it on Twitter so it must be true :) And I've seen lots of blog posts on the topic (my favorite of which is 18 Ways to Celebrate National Cheeseburger Day). I love the concept of National Cheeseburger Day but some of the posts also brought out one of my pet peeves -- claims that "other" burgers are "healthier" than beef burgers.


Even though I had a cheeseburger for lunch AND dinner yesterday, I had to have another after learning that today is National Cheeseburger Day!

One particular post from Runner's World caught my eye because of the title, "Grill up a better burger tonight." My first thought was, "What could possibly be better than a good ol' American Cheeseburger?" So I clicked on the link.

The Runner's World article suggests that bison would be a leaner choice. That is simply not true. I covered this topic in detail in a post three years ago, "Is Bison Leaner then Beef? Whatever, Turkey!" which explores claims that so-called bison and turkey "burgers" are leaner than beef burgers.

The Runner's World article does correctly point out that veggie patties are high in fiber but typically have half the protein with more calories than a beef burger. Unfortunately, I often see articles suggesting veggie burgers would be a healthier choice. I wrote about the healthfulness of veggie patties versus beef burgers in  "Exposing the Big Fat (Beef) Lie."

But that brings me to another pet peeve and the actual point of this post. If it's not BEEF, it's not a BURGER! History and entomology support this fact. There are many claims about the origin of the hamburger, but all of them include BEEF. Most experts agree that Otto Krause, a Hamburger (person from Hamburg, Germany), was the first person to serve ground up pieces of beef served between two slices of bread. Clearly, the modern name "hamburger" validates this theory!

So, in honor of Otto Krause, the inventor of the Hamburger, I hereby offer this BEEFMAN PROCLAMATION on National Cheeseburger Day:

WHEREAS the original hamburger was a ground beef patty served between two slices of bread, not a ham patty, turkey patty, bison patty, veggie patty, or any other patty, and

WHEREAS the entomology of the word "burger" is a shortened form of the word hamburger (which refers to a ground beef patty served between two slices of bread),

BE IT RESOLVED that if it's not BEEF, it's not a burger!

Ride on,

Daren

Sunday, September 7, 2014

BEEFWIFE: Two Mules for Sistah Sara's Short Ribs

Whenever I make my sister-in-law’s Sara's crockpot ribs, I think of “Two Mules for Sister Sara.”  This 1970’s Western starred Shirley MacLaine and Clint Eastwood and the theme song plays in my head because these are “Sistah Sara’s Ribs." 

Too bad I didn’t have this recipe when I met Clint Eastwood (below) while he was filming “In the Line of Fire” at the U.S. Treasury Department in 1992 (where I worked at the time).  He might have swept me away to Carmel if I had cooked Sistah Sara’s ribs for him!


I made these last week before Shelby left for China (you can follow her blog, A Jayhawk Abroad, for the full story).  They are sticky and sweet and savory and fall-off-the-bone tender.  The perfect crockpot rib!


This looks like a lot of ingredients but you probably have most of these in your pantry or fridge (see full recipe below).


You need four pounds of BEEF short ribs; I can never find packages that exactly total four pounds but there is plenty of cooking liquid so if you’re a little over on weight, no worries.


Put the flour, salt and pepper in a plastic or paper bag and combine.  Add the ribs in batches; shake to coat and knock off the excess flour as you take them out of the bag.  In a heavy skillet, brown the ribs in the butter.  I start with half the butter and add more in as I switch out the browned ribs for the un-browned ones.


You’ll want to brown all sides; don’t rush this part, it seals in the juices. Here is my big dilemma with this recipe, do I lay the ribs flat in two layers or do I put them on end in a single layer (bones up)?


I feel like this is something I could discuss with The Pioneer Woman over a cup of coffee and she would feel my “pain.”  Guess what, it really doesn’t matter.  As I said before, there is enough cooking liquid and they cook down some so put them in however you like.


As the ribs are browned, put them in the bottom of your crockpot and drizzle with honey.  The recipe calls for 1/3 cup but I just squeeze the honey bear until they are coated well.  While you are browning the batches of ribs, you can get the other ingredients prepped.


I don’t use a lot of gadgets in the kitchen but since this recipe calls for five cloves of garlic, I use my garlic peeler and garlic press.  Pop the cloves in the peeler (a silicon tube that looks like a cannoli) and with downward pressure, roll the tube and out comes perfectly peeled garlic (thanks, Adam Kranz).  I got my first garlic press after having fondue at the Pillsbury cabin in Lake Tahoe back in 1997.  Drop a clove or two in the well, bring the handles together and out comes the minced garlic.  Just scrape the garlic off with the end with a knife and pop in more cloves.  Chop the onion into small dice.  Set the garlic and onion aside.  I measure the remaining ingredients into a 4-cup Pyrex measuring cup, gently mix and then set aside.


Once the ribs are all browned, I pour off most, but not all of the liquid from the skillet.  Toss in the onion and garlic and cook briefly (don’t burn the garlic) then gently pour in the remaining ingredient mixture.  Scrape the bottom of the pan to loosen the browned bits of BEEF and butter.


Cook over medium high heat until boiling and continue cooking, stirring occasionally, until mixture reduces and thickens (about 20 minutes).  Pour the mixture over the ribs; cover crockpot with lid and cook on low setting for six to eight hours.


Sweet, sticky, spicy and tender, perfect crockpot ribs!  And you can serve the liquid from the crockpot on the side (if you want it thicker, just put in a saucepan and continue cooking until reaching the desired consistency).

Sistah Sara’s Crockpot Ribs
2/3 cup all-purpose flour
2 teaspoons salt
1/2 teaspoon black pepper
4 pounds beef short ribs
1/4 cup butter
1/2 to 1 whole large onion, chopped (I use half an onion)
1 1/2 cups beef broth (I use one whole 14.5 oz. can)
3/4 cup red wine vinegar
3/4 cup packed brown sugar
1/2 cup chili sauce
1/3 cup ketchup
1/3 cup Worcestershire sauce
5 cloves garlic, minced
1/3 cup honey, more if you prefer

In a large re-sealable plastic bag, combine flour, salt and pepper. Add ribs to bag in batches and shake to coat. In a large heavy skillet, brown the ribs in the butter.


Transfer ribs to slow cooker and drizzle with honey. In the same skillet, combine the remaining ingredients. Cover and cook until mixture comes to a boil, stirring occasionally; pour over ribs. Cover and cook on low for 6-8 hours or until meat is tender.

Sunday, June 15, 2014

BEEFWIFE: Rhut-rho, Shaggy, it’s Rhubarb season!

One of the BEEFMAN’s colleagues sent him home with a few stalks of rhubarb last month so I decided to make Scalloped Rhubarb, a super simple, yummy, gooey deliciously sweet and tart dessert recipe I got from my mother-in-law (guess that makes her the BEEFMOM!). It's getting late in the rhubarb season (April-June) but if you can still find some, this would make a great Father's Day dessert.

Rhubarb looks like red celery and typically used as a fruit but technically is a vegetable.  The stalks are edible but the leaves contain oxalic acid and can be toxic so discard the tops.


To peel or not to peel, that is the question.  As I was making this, I peeled the rhubarb because of the celery-like strings and for some reason I had it in my head that you were supposed to peel before cooking (where did I come up with that?).  As I sat down to write, I decided to do a little internet research with some of my favorite Food Network chefs’ recipes and found that no one says “step 1: peel the rhubarb.”  Thanks, Ina (Garten), Anne (Burrell) and Bobby (Flay); wish I had checked BEFORE I made this!

At least I can show you what peeled rhubarb looks like even though you NEVER have to do this step.  After NOT peeling your rhubarb, cut into one-inch pieces.


Next cube your bread.  I like to use challah which is a traditional Jewish yeast egg bread that I get in my local grocery store; I think it gives a little more texture to the dessert.  The BEEFMOM used white sandwich bread, so feel free to experiment with bread types.  I removed the bottom crust first but not the top crust.


Pour the melted butter over the bread cubes and stir to coat.  Add sugar and mix well.  I could just stop right here and eat the whole bowl.  Like a butter and sugar sandwich!  You had those as a kid, didn’t you?


Fold in the rhubarb.


Spread into a greased baking dish.  Add one tablespoon of water into each corner of the pan but do NOT mix in.  Bake 45 minutes until golden and gooey and delicious looking!


YUM... add a little scoop of vanilla ice cream and prepare to be amazed!


Scalloped Rhubarb

6 cups bread cubes, crusts removed (or not removed, your choice)
2/3 cup butter, melted
2 cups sugar
4 cups rhubarb, cut into one-inch pieces

Preheat oven to 350 degrees.  Coat bread cubes with butter; add sugar and mix well until bread is well coated.  Fold in rhubarb. Pour mixture into greased 13x9 baking dish.  Put one tablespoon water in each of the four corners of the pan but do not mix in.  Bake 45 minutes, covering during last 10 minutes if top is getting too brown.

Alternate:  I was going to make this one time in the fall and couldn’t find rhubarb (fresh or frozen) in my store so I made with blueberries instead.  I cut the sugar almost in half and it turned out lovely so feel free to try with other fruits adjusting the sugar to which produce you use and to your taste.

Enjoy!

Leslie (aka the BEEFWIFE)

Saturday, March 15, 2014

BEEFWIFE: Tenderloin Steaks with Arugula Salad and Sweet and Spicy Beets

 
I’m getting spring fever! Every chance I get, I’m sitting on the deck in the sun and looking in my garden for bulbs to come up. If I were planting a garden this summer (but I’m not), I might consider arugula. I’ve really developed a taste for this salad green. My copy of “The New Food Lover’s Companion” describes it as a “bitterish, aromatic salad green with a peppery mustard flavor” and a “source of iron as well as Vitamins A and C.”

I’m looking forward to enjoying this recipe from The Healthy Beef Cookbook, Tenderloin Steaks with Arugula Salad and Sweet and Spicy Beets. I made it this past summer for a light supper with the BEEFMAN then had the leftovers for lunch the next day. I think it might have been even better leftover as a little time gave the heat from the cayenne a chance to come up; nice ZIP!! I’ve included my notes in the recipe below.

Leave a comment here or on BEEFMAN's Facebook and tell me what tasty treat you’re yearning for this spring. I’ll draw one winner from the comments received and send you a copy of The Healthy Beef Cookbook!


Tenderloin Steaks with Arugula Salad and Sweet and Spicy Beets

Makes 4 servings; one hour prep and cooking time.

2 cups diced peeled beets (smaller beets will be tenderer)
1 cup orange juice

2 Tbsp. honey

1/8 to 1/4 tsp. ground red pepper (also called Cayenne)

2 Tbsp. red wine vinegar

1 1/2 Tbsp. olive oil

1/4 tsp. salt

2 cloves garlic, minced

2 tsp. cumin seeds

4 beef tenderloin steaks, cut 1 inch thick, about 4 oz. each (we used flat iron steak, also called a top blade steak)

Salt, as desired

1 can (15 oz.) Mandarin orange segments, drained

6 cups arugula

Freshly grated orange peel (optional)

Combine beets, orange juice, honey and pepper in small saucepan; bring to a boil. Reduce heat; simmer 40-45 minutes or until beets are tender (less time if you like them a little crunchy). Drain beets, reserving cooking liquid; cool.

Heat beet-cooking liquid over medium-high heat until reduced to 1/4 cup; cool slightly. Whisk in vinegar, oil and 1/4 tsp. salt; set aside to use as dressing.

Press garlic and cumin seeds evenly onto beef steaks. Place steaks on grid over medium, ash-covered coals. Grill, uncovered, 13 to 15 minutes for medium-rare to medium doneness, turning occasionally. (Now the BEEFMAN would tell you to sear the steaks on both sides and then move them off the direct heat and cover...low and slow for about 20 minutes. And be sure to let the meat rest at least five minutes before slicing.) Season with salt, as desired.

Toss beets, orange segments, and arugula in a large bowl; drizzle with dressing. Serve with steaks. Garnish with orange peel, if desired.

The Healthy Beef Cookbook provides these two additional tips: 1) to broil, place steaks on rack in broiler pan so surface of beef is 2 to 3 inches from heat. Broil 13 to 16 minutes for medium-rare to medium doneness, turning once; and 2) baby spinach can also serve as a tasty substitute for arugula.

Enjoy!

Leslie (aka the BEEFWIFE)